| Home |
| Daf history |
| Our Daf project |
| Daf Literature |
| Daf technical info |
| FAQs |
| Daf links |
With the case removed, examine the mechanism for any obvious damage. It's unlikely you'll find any, but particular points are to check that the hairspring is true and the centre spindle is free in its bearings. To test this, gently pull and push on the centre of the needle to make sure it can slide slightly backwards and forwards. Also take this chance to make sure that the needle's centre chrome cap is securely fitted - there's little more annoying than having it drop off and rattle around in the dial! If, as with this one, it's loose a light application of adhesive will hold it secure. Do it now, and it'll be nicely dried by the time you reassemble.
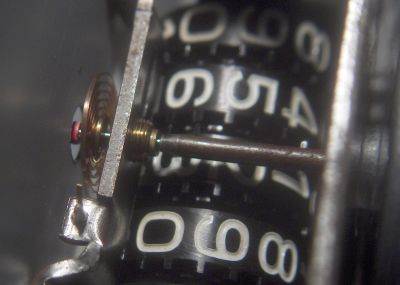
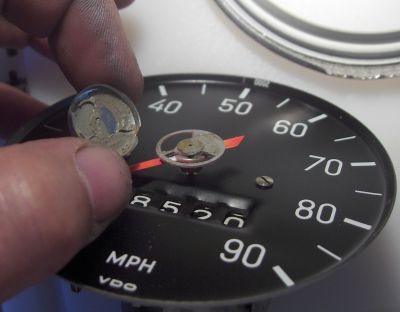
The next step is to remove the worm drive to the odometer. This is held on an adjustable slot by a single screw. Before undoing, check the backlash of the odometer gear in the worm as a guide to when you replace it. Undo the single screw, turn the drive out of engagement, and lift off. Be aware that, at this point, the mileage reading can be quickly turned backwards or forwards by turning the drive gear. If you make any major change here, you should attach a label to the back of the casing giving the cureent mileage and the mileage as refitted (as you should when replacing a speedo). I've occasionally done this to reset a car to read "mileage in my possession" - not strictly legal but none of my cars would ever have fooled anyone as low mileage, and they tend to get run until I scrap them anyway!
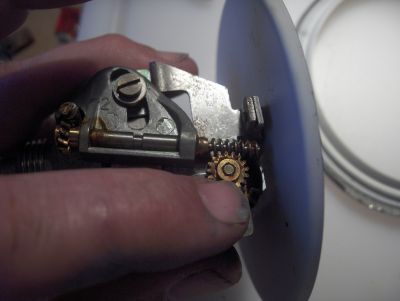
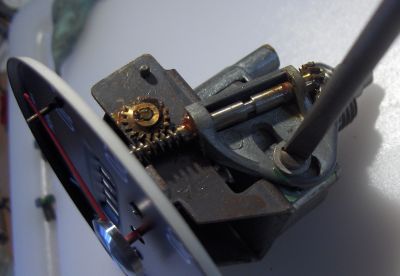
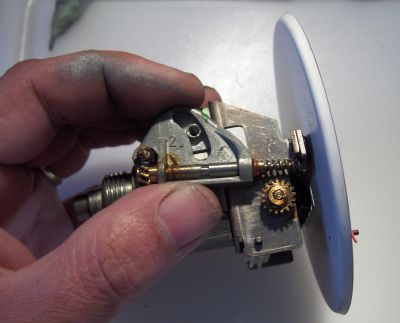
Once the odo drive is off, you can undo the two screws holding the magnet housing and withdraw the housing to reveal the cup (attached to the dial half) and the magnet (attached to the housing).
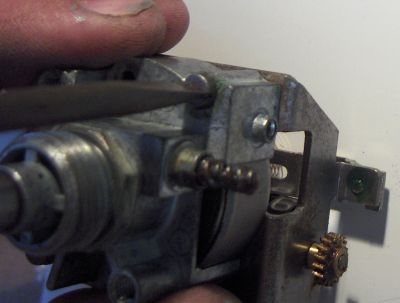
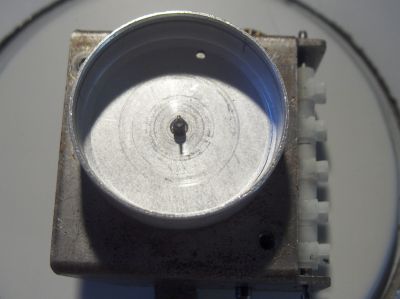
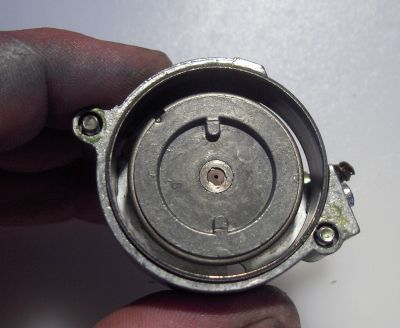
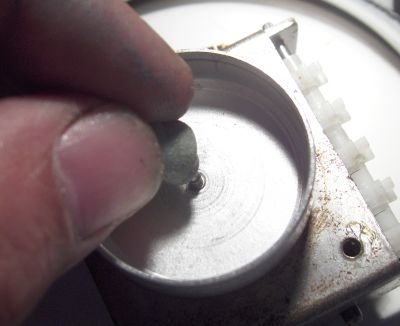
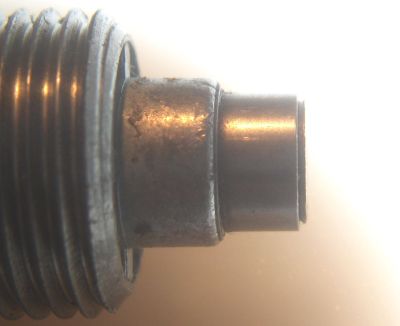
Check the cup pivot - it should be smooth, straight and not scored. Clean the odo drive, the cup pivot and the front pivot using white spirit or lighter petrol. The odo drive can be soakes then brushed with a small paintbrush to remove the old grease. For the pivots, carefully brushing with a child's type artist brush wet with cleaning fluid is best. Final cleaning of the back pivot can also be done with a small amount of blu-tak. this is great for lifting off oily residue, but be sure you don't leave any trace of it on the pivot!
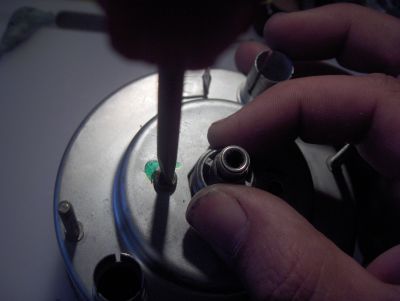
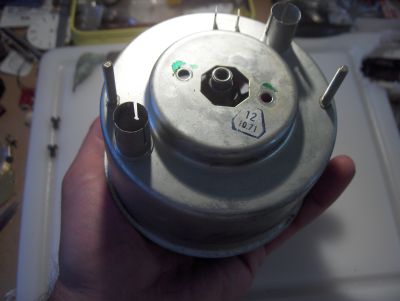
Also make sure that the magnet turns freely. By turning the cable input there should be no roughness or sticking. Problems here are extrememly unlikely but difficult to cure. The magnet is held in place by having its hollow shaft rivetted at the cable input. The rivet can be carefully ground off to remove it but this is best left unless really needed.
