| Home |
| Daf history |
| Our Daf project |
| Daf Literature |
| Daf technical info |
| FAQs |
| Daf links |
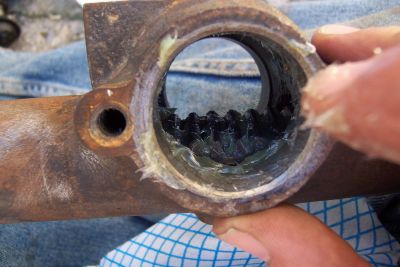
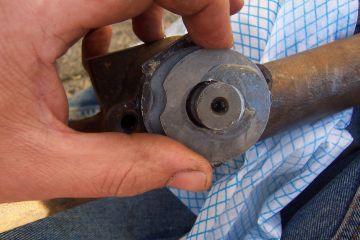
Once everything is clean and inspected, the rack is ready to go back together
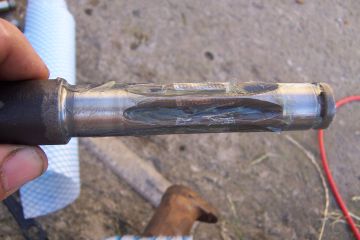
Having slid the rack back into the housing, a good quantity of grease is applied to the inside of the housing and the rack - particularly the teeth. This is best done with the rack inserted because if you apply the grease first, the end seals will wipe most of it off!
The pinion is also greased well ready for fitting. Having applied the grease, the rack is withdrawn enough to allow the cage to be fitted. The cage is then turned to it's "maximum clearance" position and the pinion slid into place. The pinion retainer is then refitted.
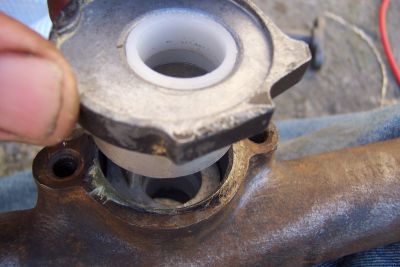
With the cage still at its maximum clearance, slide the rack into the housing until it measures 252mm from the centre of the first balljoint hole to the centre of the pinion shaft. With the rack in this position, the flange that connects the pinion to the steering column needs to be parallel with the rack body. If it isn't, then the steering wheel "straight ahead" position will be wrong.
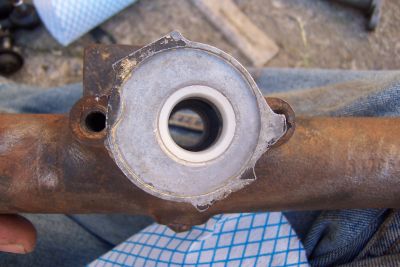
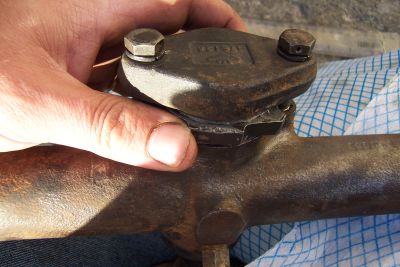
Once everything is right, turn the cage clockwise so that the pinion engages the rack and refit the cover plate, leaving the bolts a sort of loose finger tightness. The cover should be filled with grease to lubricate the end of the pinion

The free play in the rack is now adjusted by turning the pinion cage until there is just perceptible backlash in the pinion at all points from "lock to lock". The manual states 1.5 degrees of angular play at the pinion shaft, which equates to about 0.2 inches (5mm) at the wheel rim. Too much play will lead to play in the steering, not enough will lead to rapid wear of the rack and pinion.
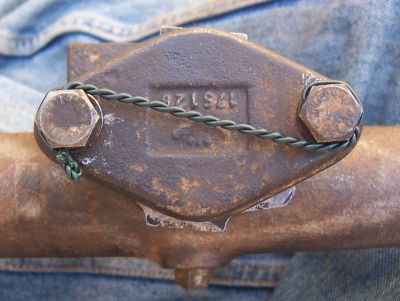
When the play is right, torque tighten the bolts to 22 Lb/Ft and re-lock with wire. Note the style of locking - if either bolt tries to loosen, it will be trying to tightening the opposite bolt. This is the correct way to do it!
Job done, rack ready to refit!